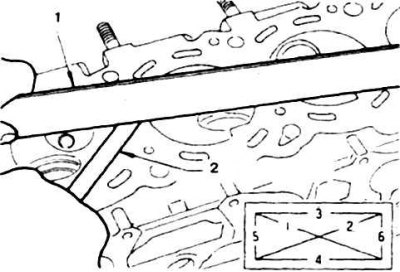
2. Remove any remaining gasket material from the split surfaces of the head, being careful not to damage the surfaces. Remove carbon deposits from the combustion chambers and scale from the channels of the cooling system. Run and clean all threaded holes.
3. Wash all parts of the valve mechanism, rollers and rocker arms with solvent.
4. Remove carbon deposits from the valve heads.
5. Carefully inspect the head for cracks and signs of coolant intrusion. If cracks are found, replace the head.
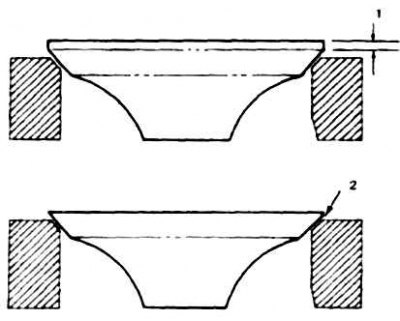
6. Check the deformation of the split surface of the head (photo). If the deviation from the plane exceeds the norm, then the head should be reground in a car service workshop.
9.6 Checking the split head plane
1. Caliber; 2. Probe
Attention! In the V6 engine head, the split planes of the manifolds must also be ground. In this case, during assembly, check the freedom of rotation of the camshaft by hand. If you feel noticeable resistance to rotation, replace the head.
7. Check the condition of the valve seats. In the presence of pitting (fossae), cracks, traces of burning, head repair will be required in a car service workshop.
8. Check the valve play in the direction parallel to the axis of the rocker (photo). If the total play on the indicator exceeds the norm, then you should check the gap between the sleeve and the valve (carried out in a car service).
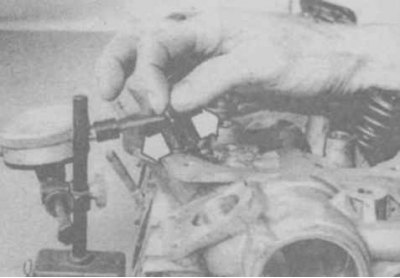
9.8 Checking valve swing
9.8 Valve edge width
1. Belt; 2. The belt is missing
9. Check the condition of the camshaft bearings.
10. Carefully inspect the valves, check for cracks on the chamfers of the valves, traces of uneven wear, metal carryover and burnout. Check for cracks in the necks and stems and for bending of the stems by turning the valve in the guide. Check the wear of the ends of the rods. The presence of any of these defects indicates the need for valve repair in a car service workshop.
11. Measure the width of the edge band of each valve and compare with the standard value (photo). If this distance is less than 0.8 mm, then the valve must be replaced.
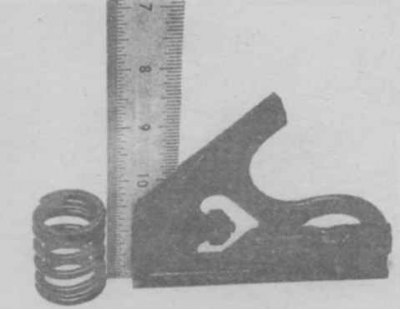
12. Check for signs of wear and pits on the ends of each valve spring. Measure the free length of the spring (photo). Before installing the springs on a repaired engine, it is necessary to check them under load on a special stand (carried out in a car service workshop).
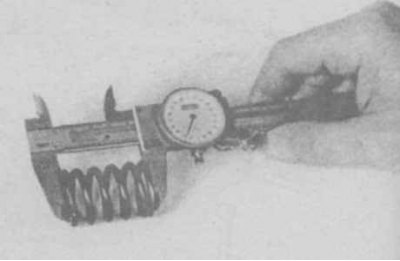
9.12 Measuring the free length of the valve spring
13. Check the verticality of the springs (photo). If a deviation of the spring from the vertical and deflection along the length is detected, the spring should be replaced.
9.13 Checking the verticality of the springs
14. Check up presence of visible traces of wear and cracks on plates of springs and crackers. Replace parts with any defects.
15. Checking the rocker arms and rollers is described in Part B Chap. 2.
16. If during the check it turns out that the wear of the parts does not exceed the norm, then assemble the cylinder head by installing the parts in their original places. Repair of the cylinder head of any complexity should be done in a car service.