Table of contents: Checking the electromagnetic relay ↓ Checking the gear with the clutch ↓ Checking the brushes ↓ Stator check ↓ Checking the anchor ↓ Adjusting the length of the gear…↓
All service values are listed in the section "Service data and specification" at the end of the chapter.
Checking the electromagnetic relay
1. Before starting the test, disconnect the negative terminal of the battery.
2. Disconnect the "M" terminal of the wire from the starter terminal.
3. Check for a circuit between terminal "S" (A) and the traction relay housing; if there is no circuit, replace the starter with a new one.
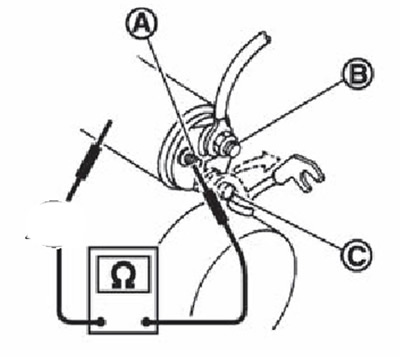
A. Terminal "S".
B. Terminal "B".
S. Terminal "M".
4. Check for an electrical circuit between terminals "S" (A) and "M" (B); if there is no circuit, replace the starter with a new one.
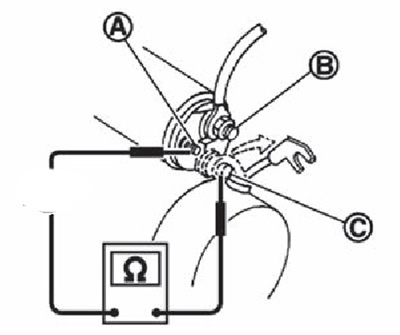
A. Terminal "S".
B. Terminal "B".
S. Terminal "M".
Checking the gear with the clutch
1. Check the condition of the drive gear teeth. If the teeth are worn or damaged, replace the drive gear. Also check the condition of the flywheel ring gear teeth.
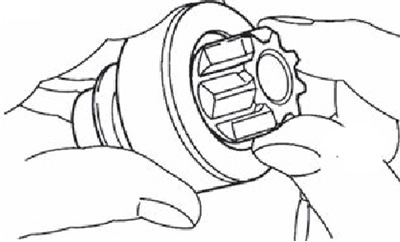
2. Check the condition of the gear teeth of the gearbox (if it exists). If the teeth are worn or damaged, replace the gear reducer gears (also check the condition of the gear teeth on the armature shaft).
3. Check whether the drive gear locks when rotating in one direction and whether it rotates in the opposite direction. If the gear locks or rotates freely in both directions, or if excessive resistance is felt when rotating, replace it.
Checking the brushes
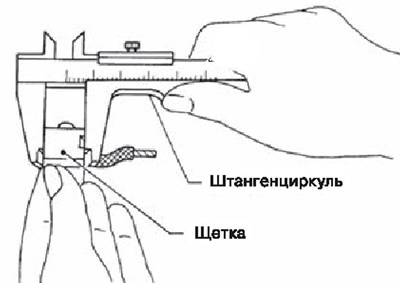
1. Check the amount of wear on the brushes and replace if excessively worn.
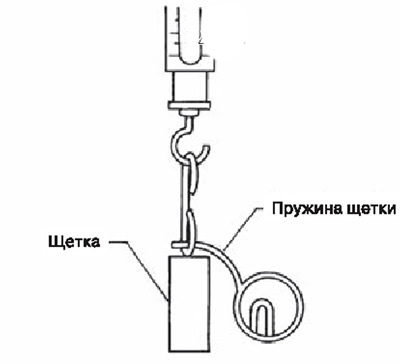
2. After disconnecting the brush spring, check its clamping force. If the brush springs are too weak, replace them with new ones.
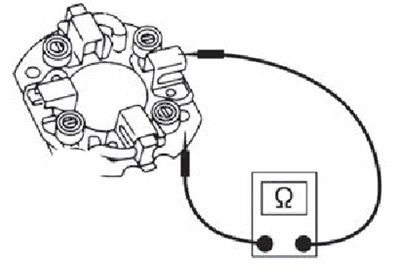
3. Check the brush holder:
Check the insulation between the brush holder (positive side) and the basis (negative side). If breakdowns are detected, replace the brush holder with a new one.
Visually check the smooth movement of the brushes. If the brush holder is deformed, replace it with a new one. If the sliding surfaces are deformed, clean them.
Stator check
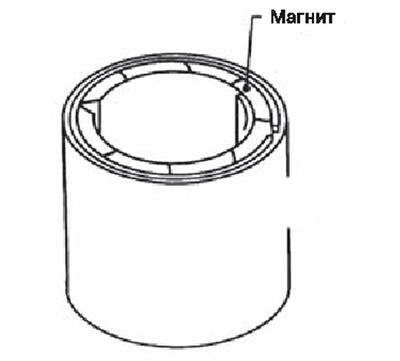
The magnets are fixed to the stator with adhesive. Visually check the reliability of the magnets' fixation to the stator and the absence of cracks. Replace faulty parts in the assembly.
Caution: Do not clamp the stator in a vice or subject it to hammer blows.
Checking the anchor
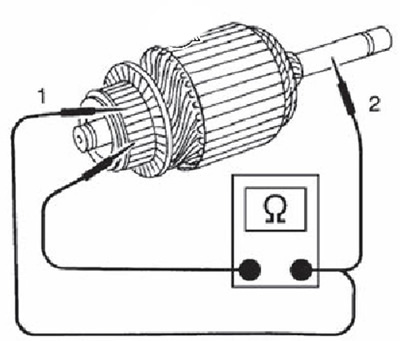
1. Check the continuity of the circuit in pairs between segments. If the circuit is open, replace the anchor with a new one.
2. Make sure there is no conductivity between each commutator segment and the shaft. If insulation breakdowns are detected, replace the anchor with a new one.
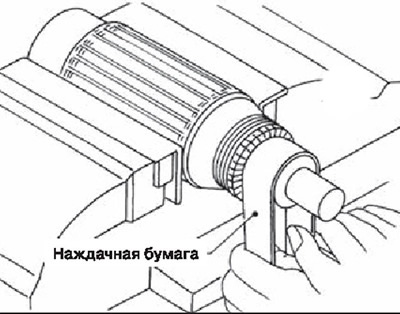
3. Check the surface of the commutator. If it is rough, sand it with sandpaper No.500-600.
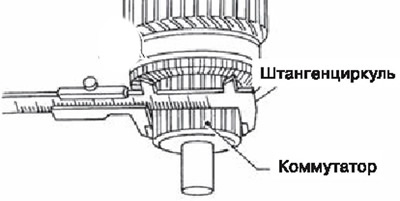
4. Check the commutator diameter and compare it with the maximum permissible value (see the section "Service data and specification" at the end of the chapter). If the obtained value is less than the maximum permissible value, replace the anchor with a new one.
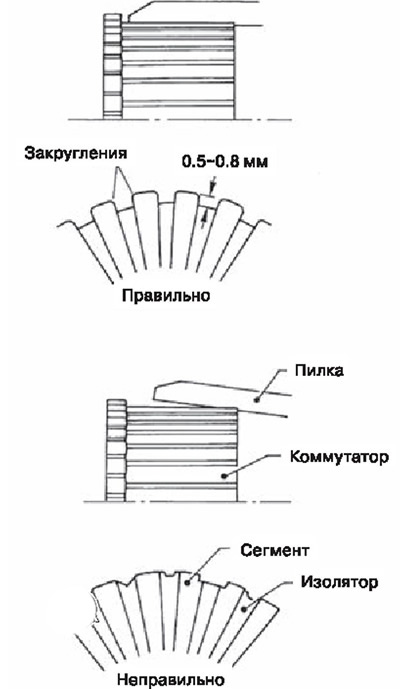
5. Check the depth of the insulators between the commutator segments. If it is less than 0.2 mm, it is necessary to trim the insulator to a depth of 0.5-0.8 mm.
Adjusting the length of the gear projection
With the gear moved out by the electromagnetic switch, press the gear in the opposite direction to eliminate play and measure the clearance "I" between the front edge and the gear stop.
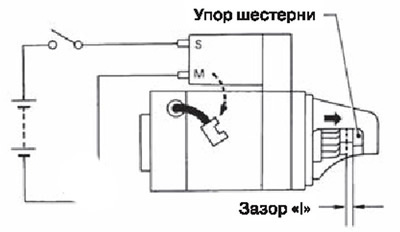
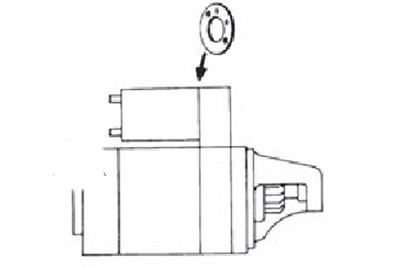
If the obtained values do not correspond to the norm, adjust them by selecting the adjusting plate.