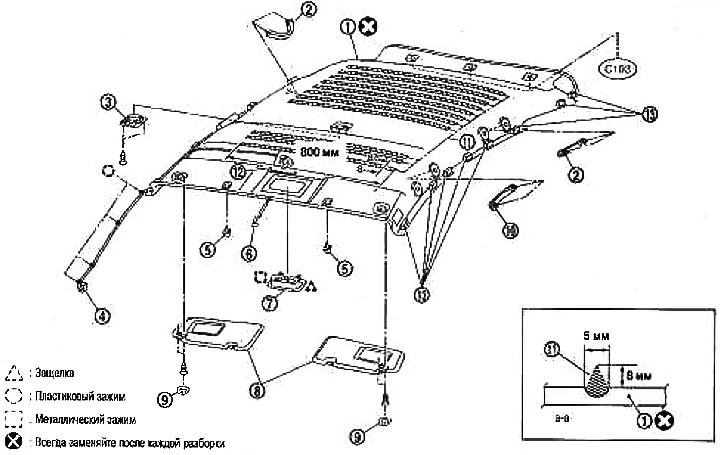
1. Ceiling; 2. Handrail; 3. Plafond interior lighting; 4. Cabin wiring; 5. Sun visor holder; 6. Wiring; 7. Plafond interior lighting; 8. Sun visor; 9. Plug; 10. Handrail; 11. Glue; 12. Microphone spacer (if available); 13. Spacer
Removing
1. Remove facing of a forward rack. See section «Side trim».
2. Remove the rear door seal.
3. Remove the upper side trim of the luggage compartment (left and right). See section «luggage compartment floor trim».
4. Remove the top facing of the central rack (on 5 door models) and the upper lining of the rear pillar (on 3-door models). See section «Side trim».
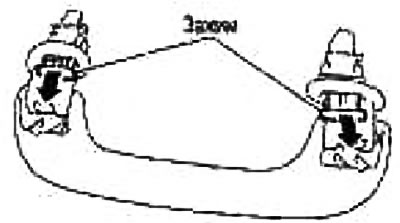
5. Remove handrails.
Note: When removing the handrail, insert a thin screwdriver, etc. into the clamp and pull it out.
6. Remove the sun visors (left and right).
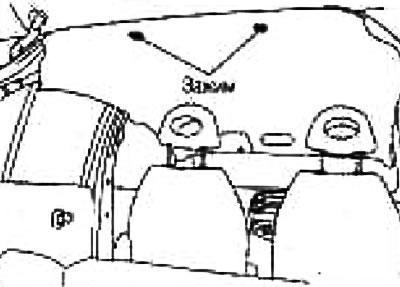
7. Remove the dome light (with local lighting function). See chapter electrical equipment.
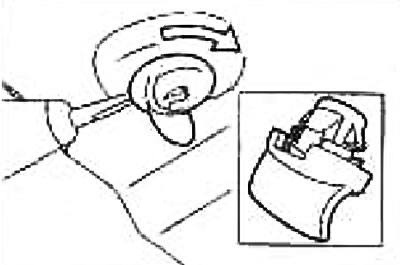
8. Remove the sun visor holders.
Note: Insert a screwdriver into the cutout, rotate 90°and remove.
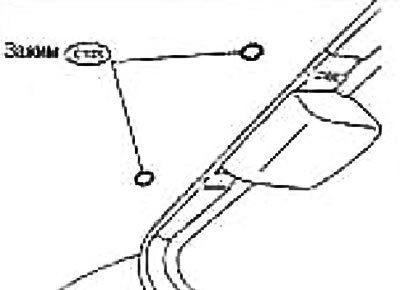
9. Remove the clips from the rear of the ceiling.
10. Remove a layer of glue from the ceiling and take it out through the rear door opening.
Attention: Do not bend the ceiling, otherwise the roof panel may be deformed.
Installation
1. Remove adhesive residue from the side of the car.
2. Apply glue to the ceiling.
Adhesive: Yokohama Rubber Hammer Tight YM-21 or BETAMATE 7138
3. Move the front seats (left and right) toward the front of the vehicle and install the head restraints (left and right) to the top position.
4. Lay the front section of the headlining over the headrests and secure the rear section with clips.
5. After installing the sun visor holders, install in the reverse order of removal.