Examination
1. Loosen wheel nuts, raise vehicle and place on stands. Remove wheels.
2. Remove a support with the cylinder and take aside.
3. Check the status of the disk. When traces of deep mining are found (depth over 0.38 mm) remove disc and grind (photo).
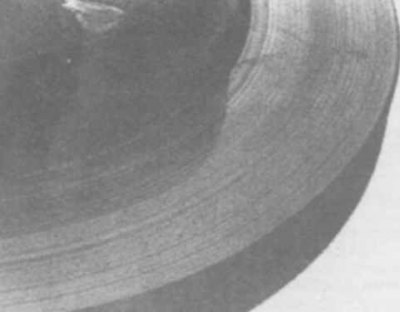
4.3. Brake disc surface
4. Check the runout (especially if vibrations were felt during braking) with dial gauge (photo). If the beat on the indicator exceeds the norm, then remove the disc and grind.
Attention! The disc is generally recommended to be periodically removed and polished, depending on the indicator readings. At least this can be done by hand with fine sandpaper (photo), to reduce roughness.
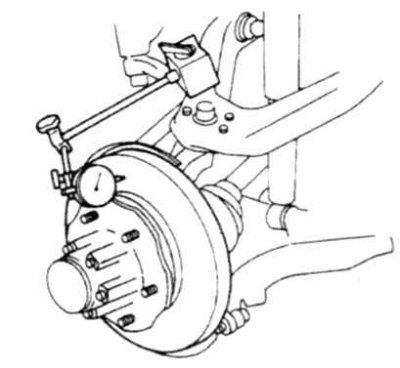
4.4a Checking disc runout
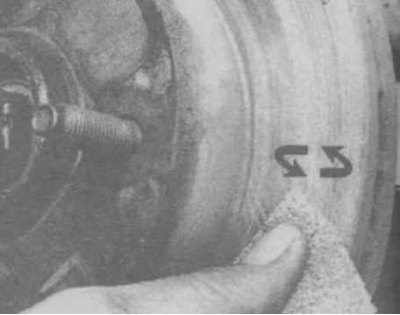
4.4b Grinding the disc by hand
5. After grinding, the thickness of the disc should not be less than the maximum allowable (thickness cast on the disc, photo).
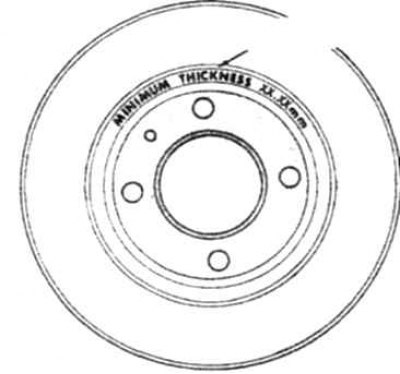
4.5a Place of application of the maximum thickness of the disc
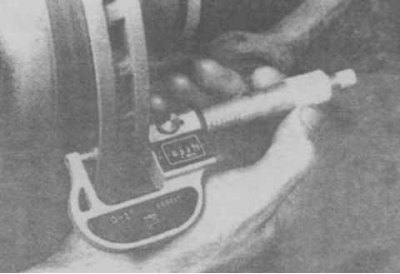
4.5b Checking the thickness of the disk. Measure the thickness in several places
Removing
6. Remove the hub dust cover.
7. Remove cotter pin.
8. Remove the cap.
9. Turn away a nut of a nave and remove a washer.
10. Remove the outer bearing.
11. Remove a nave in gathering with a disk.
12. If the disk will be re-grinded, then get: an oil seal.
13. If the disk will change, then separate it from the hub, for which unscrew the bolts, tap on the edge of the hub, pry with screwdrivers and remove the disk (photo). If it is not possible to separate the disc in this way, then lubricate the junction of the disc and the hub with a penetrating liquid.
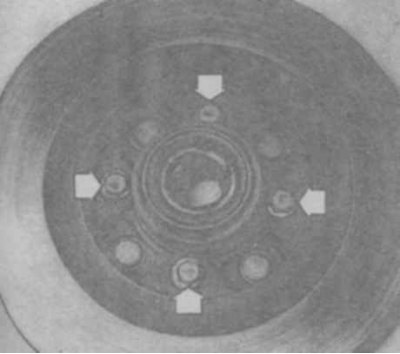
4.13a Bolts for fastening the disc to the hub
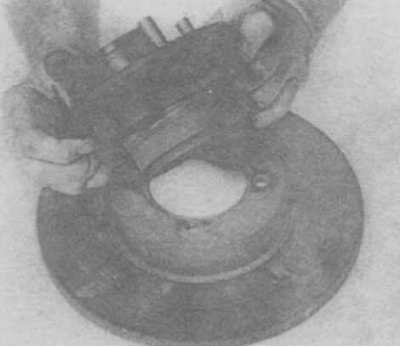
4.13b Separation of disc and hub
Installation
14. Install the disc on the hub and tighten the bolts.
15. Tighten the bolts evenly and progressively to failure.
16. Other operations are performed in accordance with Ch. eleven.