


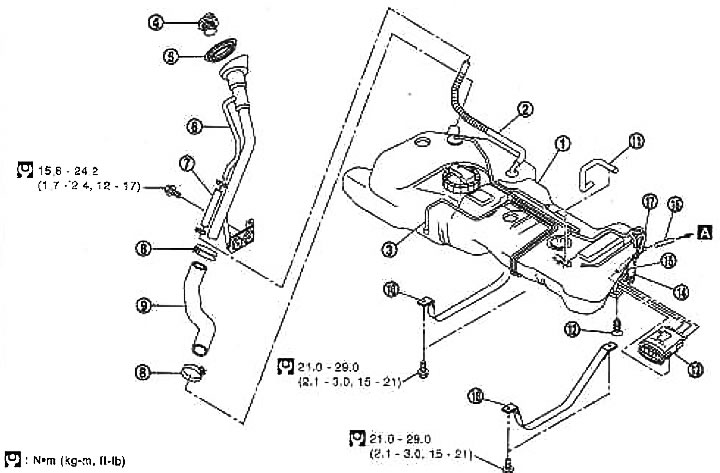
1. Fuel tank; 2. Ventilation hose; 3. EVAP tube; 4. Fuel tank filler cap; 5. Rubber bushing; 6. Filler neck pipe; 7. Ventilation hose; 8. Clamp; 9. Filler neck hose; 10. Fuel tank strap; 12. EVAP hose; 13. EVAP carbon canister mounting screw; 14. EVAP Carbon Canister Hose*; 15. EVAP carbon filter**; 16. EVAP inlet pipe; 17. EVAP inlet pipe
*: To the fuel tank
**: To the EVAP carbon canister purge solenoid valve
A: Air inlet
Removal
Caution: When working on the fuel system, read "General precautions".
1. Remove the rear right wheel.
2. Complete steps 1-7 of the section "Fuel level sensor, fuel filter and fuel pump assembly", p. "Removal".
Caution: If the fuel tank is not level and there is a lot of fuel in it, it will become unstable and dangerous. Drain more fuel than specified in item 1 of the section referred to above so that the fuel tank can be supported by hand in case of loss of balance.
3. Remove the center and main mufflers. See section "Exhaust system".
4. Remove the insulator from the vehicle side at the center and main muffler area.
5. Slide the parking brake cable away from the bottom of the fuel tank. Then remove the clips securing the parking brake cable.
6. Disconnect the filler neck hose from the fuel tank side.
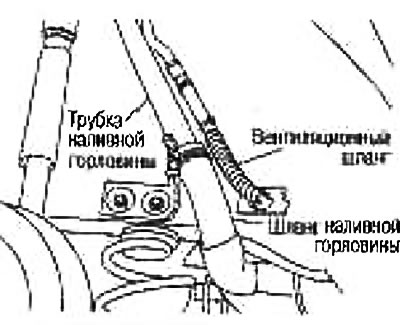
Caution: Do not disconnect the filler hose from the filler tube side to prevent it from interfering with the suspension during installation due to displacement. If disconnection is necessary from the filler tube side, make alignment marks and disconnect.
7. Disconnect the ventilation hose from the rear right wheel well.
8. Disconnect the EVAP hose from the front of the fuel tank.
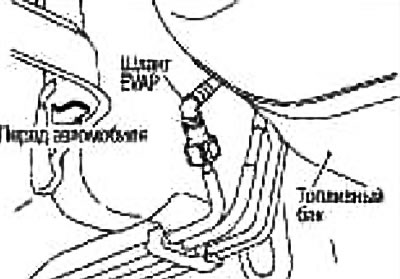
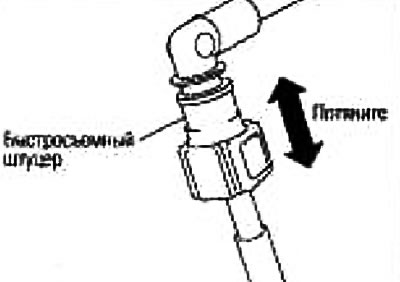
Disconnect the quick release fitting as follows:
- Grasp the fitting on both sides, press the latches and remove the fuel pipe.
- If the nipple is stuck to the tube of the sending unit, wiggle them back and forth a few times until they come free. Then disconnect them by pulling them in different directions.
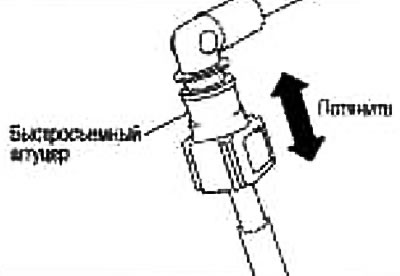
Attention:
- The tube can be disconnected when the latches are fully recessed. Do not twist it more than necessary.
- Do not disconnect the quick release fitting using any tools.
- Protect the plastic tube from heat, especially when welding near the tube.
- Do not allow acidic liquids, such as battery electrolyte, etc., to come into contact with the plastic tube.
- Do not bend or twist the plastic tube when connecting or disconnecting.
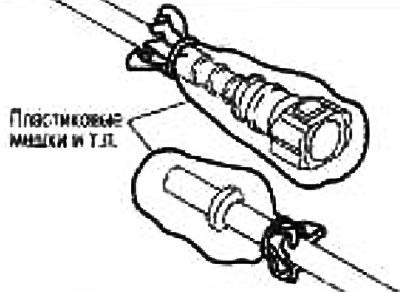
To keep the connection area clean and to prevent damage and foreign particles from entering, completely cover it with plastic bags, etc.
Caution: To avoid damaging the O-ring in the quick release fitting, do not insert plugs.
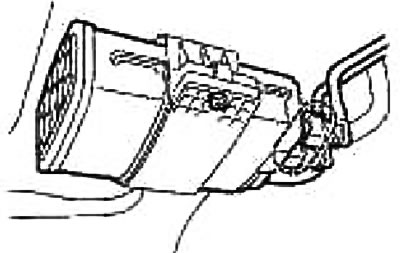
9. If necessary, loosen the retaining screw, disconnect the quick-release fittings and slide the EVAP canister back and away from the fuel tank.
(Data posted on the website NISSANBOOK)
Note: For servicing of the fuel vapor recovery system components, refer to chapter Engine management system.
10. Support the center of the fuel tank with a telescopic stand.
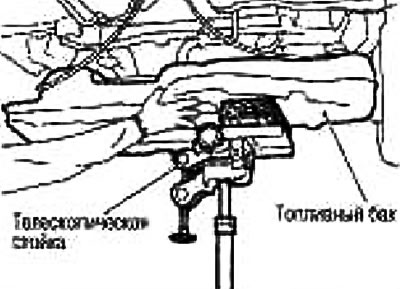
Caution: Place a wooden block between the telescopic stand and the fuel tank.
11. Remove the fuel tank strap clamps on the right and left.
12. While supporting the fuel tank with your hands, carefully lower the telescopic stand and remove the tank. Perform the following operations at the same time:
Disconnect the ventilation hose through the through hole in the car.
Pull the parking brake cable back with your hand to prevent it from hitting the fuel tank.
Caution: The fuel tank may be unstable due to the shape of its bottom. Do not rely on the telescopic stand. Support the tank securely with your hands.
Installation
Installation is carried out in the reverse order of removal, taking into account the following:
Installation of tape clamps
Install them according to the markings "R" (right) and "L" (left) stamped on the ends.
Installing the filler neck hose
Install the filler hose onto the fuel tank with the marking facing down.
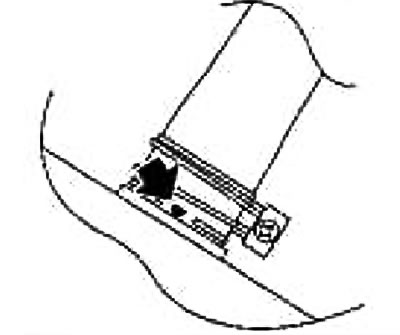
Place the filler neck hose (2) onto the filler neck tube (1) with the marking facing down.
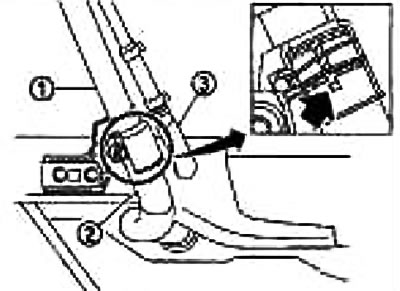
Place the hose onto the pipe to a depth of 35 mm and secure with a clamp.
Make sure the hose clamp does not sit on the thickened part (bead) of the fuel line.
Tighten the fuel hose clamp so that the distance from the end of the hose is 5-9 mm [tightening torque: 1.3-3.7 N·m (0.13-0.38 kg·m)].
Installing the EVAP Hose
Connect the quick release fitting as follows:
1. Check that there is no damage to the joints and that no foreign particles have gotten into them.
2. Center the nipple with the hose, then insert the nipple at a right angle until it clicks into place.
3. After connecting, make sure the connection is secure by pulling.
Post-installation check
Check for fuel leaks by performing the following steps:
1. Turn the ignition key to the "ON" position (without starting the engine). After creating pressure in the fuel lines, check for fuel leaks at the joints.
2. Start the engine. Increase the engine speed and check again for fuel leaks at the fuel line joints.