


Table of contents: Checking automatic transmission fluid ↓ Checking the condition of the liquid ↓ Checking the pressure in the main…↓
Checking automatic transmission fluid
Checking for leaks and fluid levels
Check for leaks and check the fluid level.
Checking the condition of the liquid
| Liquid state | Probable cause | Method of elimination |
| Deposition of sticky films | Burning of couplings, brakes | Replace the automatic transmission fluid and check for any faults in the automatic transmission assembly and the vehicle (electrical wiring, radiator pipes, etc). |
| Milky white or cloudy | Water got into the liquid | Replace the automatic transmission fluid and check for areas where water may be entering. |
| Lots of metal powder impurities | Increased wear of rubbing components in automatic transmission | Replace the automatic transmission fluid and check if the automatic transmission is working properly |
Check on a stationary vehicle
Check procedure on a stationary vehicle
1. Check the automatic transmission fluid and engine oil levels. Top up if necessary.
2. Drive the vehicle for approximately 10 minutes or warm up the automatic transmission fluid and engine oil to operating temperature.
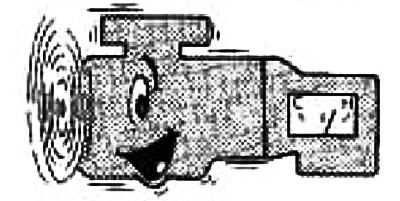
Operating temperature of automatic transmission fluid: 50-80°C
3. Apply the parking brake securely and chock the wheels.
4. Connect the tachometer and install it so that it is visible to the driver during testing.
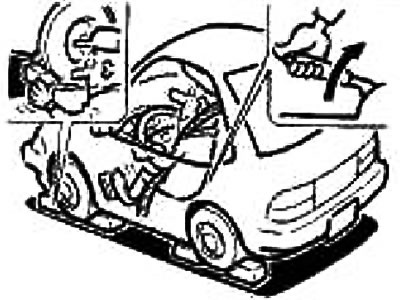
It is advisable to mark the specified engine speed range on the scale.
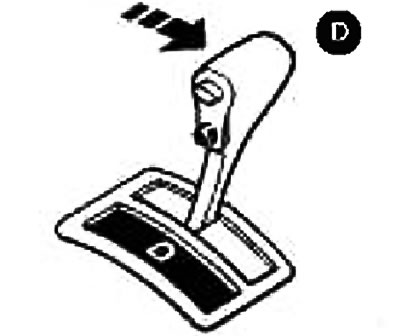
5. Start the engine, press the brake pedal and move the selector lever to position "D".
6. While keeping the brake pedal depressed, gradually press the accelerator pedal.
7. Quickly record the engine speed readings with the vehicle stationary and immediately remove your foot from the accelerator pedal.
Caution: Do not hold the accelerator pedal depressed for more than 5 seconds during the check.
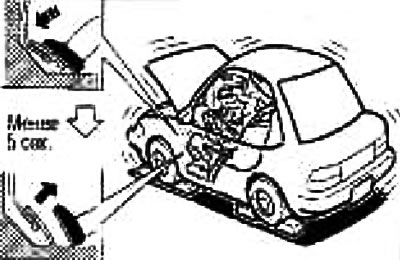
Engine speed at standstill: 2250-2700 rpm
8. Move the selector lever to the "N" position.
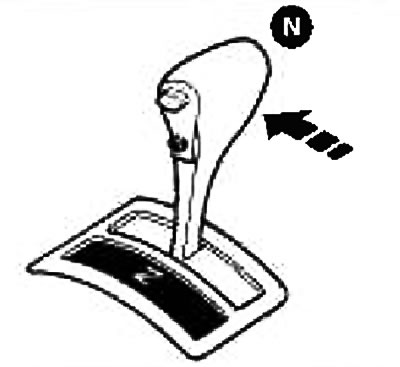
9. Cool the automatic transmission fluid.
Caution: Let the engine run at idle speed for at least 1 minute.
10. Repeat steps 6-9, setting the selector lever to position "2", "1" and "R".
Evaluation of the test results on a stationary vehicle
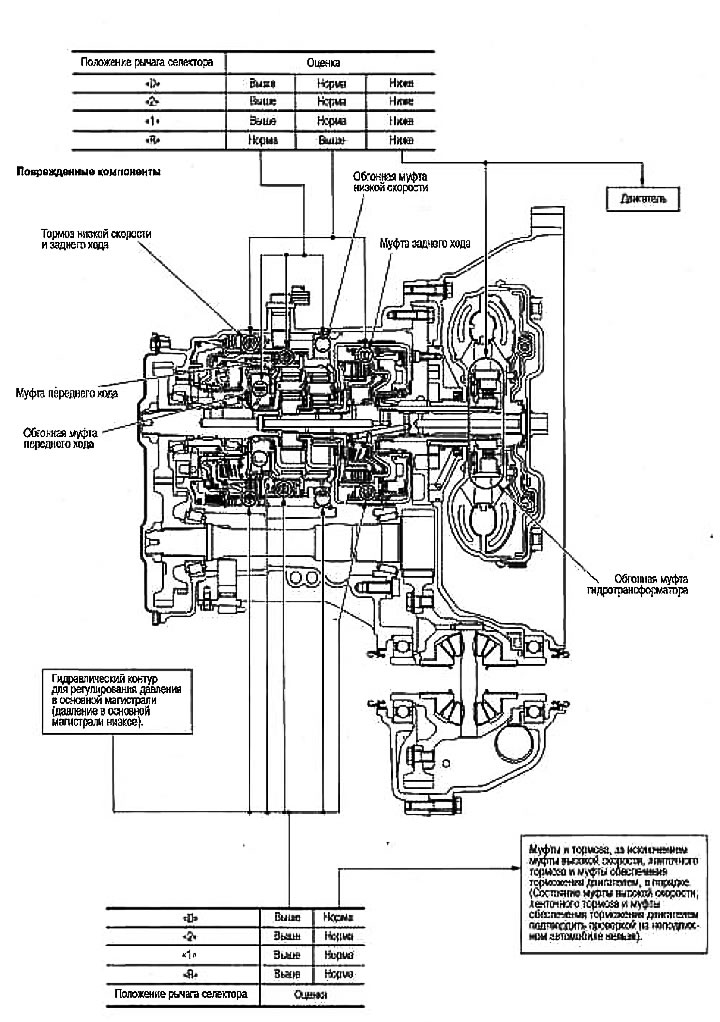
The test results and the corresponding components that may be damaged are shown in the figure below.
The revolutions of a stationary vehicle are higher than normal in position "D", "2" or "1".

Slipping occurs in 1st gear, but not in 2nd and 3rd gears... The low speed overrunning clutch is slipping.
Slippage occurs in the following gears:
- From 1st to 3rd gear in the "D" range and engine braking is active when the overdrive is disengaged (the "O/D OFF" indicator lights up).
- In 1st and 2nd gears in range "2" and engine braking operates when the accelerator pedal is released (fully closed throttle).
- The forward clutch or forward overrunning clutch is slipping.
The revs of the stationary vehicle are higher than normal in the "R" position
Engine braking does not work in the "1" range.... Low speed and reverse brakes slip.
Engine braking operates in range "1".... Reverse clutch slips.
The revolutions of a stationary vehicle are within normal limits:
The car does not develop a speed higher than 80 km/h. The overrunning clutch is jammed in the torque converter housing.
Caution: Be careful because the temperature of the automatic transmission fluid rises very high.
Slippage occurs in 3rd and 4th gears in the "D" range. The high-speed clutch slips.
Slipping occurs in 2nd and 4th gears in the "D" range. The band brake is slipping.
Engine braking does not work in 2nd and 3rd gears in the "D" range, in 2nd gear in the "2" range and in 1st gear in the "1" range when the overdrive is disengaged (the "O/D OFF" indicator lights up)... The engine braking clutch is slipping.
The speed of a stationary vehicle is below normal:
Poor acceleration when starting off.... The overrunning clutch in the torque converter is jammed.
Checking the pressure in the main line
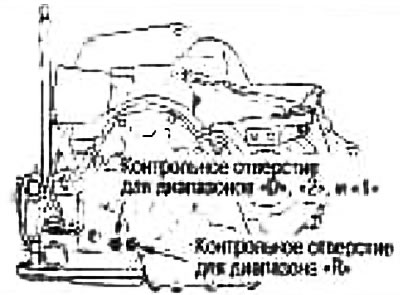
The location of the pressure testing holes in the main line is shown below.
Always replace the plugs as they are self-sealing bolts.
Main Line Pressure Check Procedure
1. Check the automatic transmission fluid and engine oil levels. Top up if necessary.
2. Drive the vehicle for approximately 10 minutes or warm up the engine oil and automatic transmission fluid to operating temperature.
Operating temperature of automatic transmission fluid: 50-80°C.
3. Connect the pressure gauge to the appropriate test port to check the pressure.
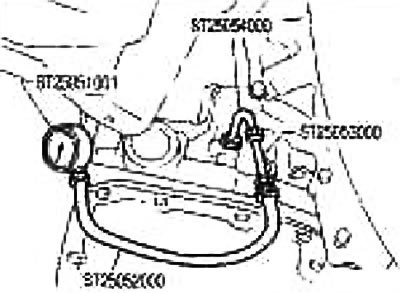
4. Engage the parking brake and chock the wheels.
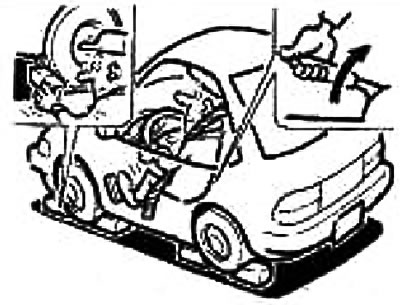
5. Start the engine and measure the pressure in the main line both at idle speed and at stationary speed.
Caution: Keep the brake pedal fully depressed while taking measurements.
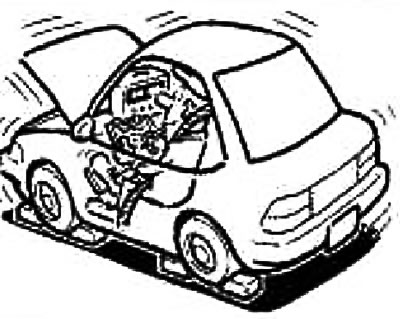
When measuring the pressure in the main line at idle speed, follow the section "Checking with the vehicle stationary".
Main line pressure
| Engine speed | Main line pressure, kPa (kg/cm²) | |
| Ranges "D", "2", "1" | Range "R" | |
| Idle speed. | 500 (5,1) | 778 (7,9) |
| Revolutions of a stationary vehicle | 1159 (11,8) | 1803 (18,4) |
Evaluation of the results of the pressure test in the main line
| Grade | Probable cause | |
| At idle speed. | Low pressure in all ranges |
|
| Low pressure in only one of the ranges | Fluid pressure leak between range shift valve and specific clutch
For example, the pressure in the main line is: Low in the "R" and "1" ranges, but Normal in the "D" and "2" ranges. Therefore, the fluid leak is located in or near the low speed and reverse brake circuit. | |
| High pressure |
| |
| At the speed of a stationary vehicle | Low pressure |
|